究极懒狗,这个本来应该是一年前就要写的。

前言

说实话,并不看好rust在嵌入式领域的未来,嵌入式里面C/C++的地位是不可撼动的,但是rust的确是一个很有意思的语言,所以还是想尝试一下。rust的优势在于安全性,但是在嵌入式领域,安全性并不是最重要的,最重要的是性能和资源占用,所以rust在嵌入式领域的未来并不是很乐观。仅仅为了一点安全性的提升,带来的牺牲是巨大的。搞嵌入式的人真正想要的应该是go。

环境准备

写这篇文章的当前时间节点的最新的版本(版本仅供参考):

软件

  • VSCode 1.86.1
  • rustc/cargo 1.76.0
  • arm-none-eabi-gcc 13.2.1
  • openocd 0.12.0

硬件

  • STM32L431RCT6(板子是随便找的)
  • ST-LINK V2

VSCode插件

  • rust-analyzer:使用VSCode开发Rust必备
  • cortex-debug:调试、debug嵌入式程序
  • crates:提升编辑Cargo.toml的体验,辅助包管理

软件安装

VSCode

rustc/cargo

打开rust官网,下载Windows: rust-init.exe

或者Linux: curl --proto '=https' --tlsv1.2 -sSf https://sh.rustup.rs | sh

一路回车就行了。

换源

rustup源,添加两个环境变量(Linux):

1
2
export RUSTUP_DIST_SERVER=https://mirrors.ustc.edu.cn/rust-static
export RUSTUP_UPDATE_ROOT=https://mirrors.ustc.edu.cn/rust-static/rustup

cargo换源,在~/.cargo/config文件中添加:

1
2
3
4
5
6
7
8
9
10
11
12
13
14
15
16
[source.crates-io]
registry = "https://github.com/rust-lang/crates.io-index"
# 指定镜像
replace-with = 'ustc' # 如:tuna、ustc,或者 rustcc 指定一个即可

# 中国科学技术大学
[source.ustc]
registry = "https://mirrors.ustc.edu.cn/crates.io-index"

# 清华大学
[source.tuna]
registry = "https://mirrors.tuna.tsinghua.edu.cn/git/crates.io-index.git"

# rustcc社区
[source.rustcc]
registry = "https://code.aliyun.com/rustcc/crates.io-index.git"

编译调试工具

可以在ARM官网下载

OpenOCD下载

这里放一个windows的zip

Ubuntu下可以使用命令

1
2
sudo apt install gcc-arm-none-eabi
sudo apt install openocd

背景知识

在配置完开发环境之后,我们缓一缓,简单了解一下使用Rust开发嵌入式工程的一些背景知识。

和C语言不同,Rust官方提供了一套标准的硬件抽象层embedded-hal,几乎所有的MCU厂家都会基于这套hal来开发自己的sdk。

各个厂商的相关SDK命名都遵循xxx-rs的方式,比如stm32就是stm32-rs,ESP是esp-rs,rp2040是rp-rs。如果我们想要找相关的SDK,就去对应的github组下面去找就好了。

在正式开发中,我们不会直接和embedded-hal打交道,而是使用各个厂家MCU对应的上层hal实现。我们使用的MCU是stm32l4,因此,直接去stm32-rs下面搜索stm32l4,就能看到对应的hal库stm32h7xx-hal了。当然也可以去crates.io搜索,一样的。使用对应的hal库也非常简单,在Cargo.toml的[dependencies]下面添加一行(PS:直接引用git会好点,至少代码是最新的)

stm32l4xx-hal = { git = “https://github.com/stm32-rs/stm32l4xx-hal”, features = [“stm32l431”, “rt”]}

rustup安装工具链

1
2
3
4
rustup target add thumbv7em-none-eabihf # 找一下自己的板子对应的target
cargo install cargo-binutils #安装binutils
rustup component add llvm-tools-preview
cargo install cargo-generate

项目初始化

1
cargo generate --git https://github.com/rust-embedded/cortex-m-quickstart

这个模板工程是rust团队编写的qemu版本的,需要修改一下。

打开.cargo/config文件,修改里面的build如下,STM32L4对应的Cortex-M4:

1
2
3
4
5
6
7
8
9
[build]
# Pick ONE of these default compilation targets
# target = "thumbv6m-none-eabi" # Cortex-M0 and Cortex-M0+
# target = "thumbv7m-none-eabi" # Cortex-M3
target = "thumbv7em-none-eabi" # Cortex-M4 and Cortex-M7 (no FPU)
# target = "thumbv7em-none-eabihf" # Cortex-M4F and Cortex-M7F (with FPU)
# target = "thumbv8m.base-none-eabi" # Cortex-M23
# target = "thumbv8m.main-none-eabi" # Cortex-M33 (no FPU)
# target = "thumbv8m.main-none-eabihf" # Cortex-M33 (with FPU)

然后cargo build就可以了。这样就可以在STM32L4上运行了。但是在此之前,再写一个点亮LED的例子。

点亮LED

首先是Cargo.toml文件,添加依赖:

1
2
[dependencies]
stm32l4xx-hal = { git = "https://github.com/stm32-rs/stm32l4xx-hal", features = ["stm32l431", "rt"]}

memory.x文件,这个文件是链接脚本,用来告诉编译器程序的内存布局,这个是STM32L431的默认配置,其他芯片可以自行修改:

1
2
3
4
5
MEMORY
{
FLASH : ORIGIN = 0x8000000, LENGTH = 128K
RAM : ORIGIN = 0x20000000, LENGTH = 32K
}

openocd.cfg文件,这个文件是openocd的配置文件,用来告诉openocd如何连接到目标板,这个是ST-LINK V2的默认配置,其他调试器可以自行修改:

1
2
source [find interface/stlink.cfg]
source [find target/stm32l4x.cfg]

main.rs文件,这个文件是程序的入口,这个是点亮LED的例子:
//不解释,看代码,效果就是1s翻转一次,LED在GPIOA的12脚

1
2
3
4
5
6
7
8
9
10
11
12
13
14
15
16
17
18
19
20
21
22
23
24
25
26
27
28
29
30
31
32
33
34
35
36
37
38
#![no_std]
#![no_main]

// pick a panicking behavior
use panic_halt as _; // you can put a breakpoint on `rust_begin_unwind` to catch panics
// use panic_abort as _; // requires nightly
// use panic_itm as _; // logs messages over ITM; requires ITM support
// use panic_semihosting as _; // logs messages to the host stderr; requires a debugger

// use cortex_m::asm;
use cortex_m_rt::entry;

use stm32l4xx_hal::delay::Delay;
use stm32l4xx_hal::{pac, prelude::*};

#[entry]
fn main() -> ! {
let cp = cortex_m::Peripherals::take().unwrap();
let dp = pac::Peripherals::take().unwrap();

let mut rcc = dp.RCC.constrain();
let mut flash = dp.FLASH.constrain();
let mut pwr = dp.PWR.constrain(&mut rcc.apb1r1);

let clocks = rcc.cfgr.sysclk(80.MHz()).freeze(&mut flash.acr, &mut pwr);
let mut gpioa = dp.GPIOA.split(&mut rcc.ahb2);
let mut led = gpioa
.pa12
.into_push_pull_output(&mut gpioa.moder, &mut gpioa.otyper);

let mut timer = Delay::new(cp.SYST, clocks);

loop {
led.toggle();

timer.delay_ms(1_000_u16);
}
}

现在cargo build编译文件
使用openocd烧录,openocd -f openocd.cfg -c "program target/thumbv7em-none-eabi/debug/stm32-demo3 verify reset exit"
注意替换文件名,就可以看到LED在1s内翻转一次了。

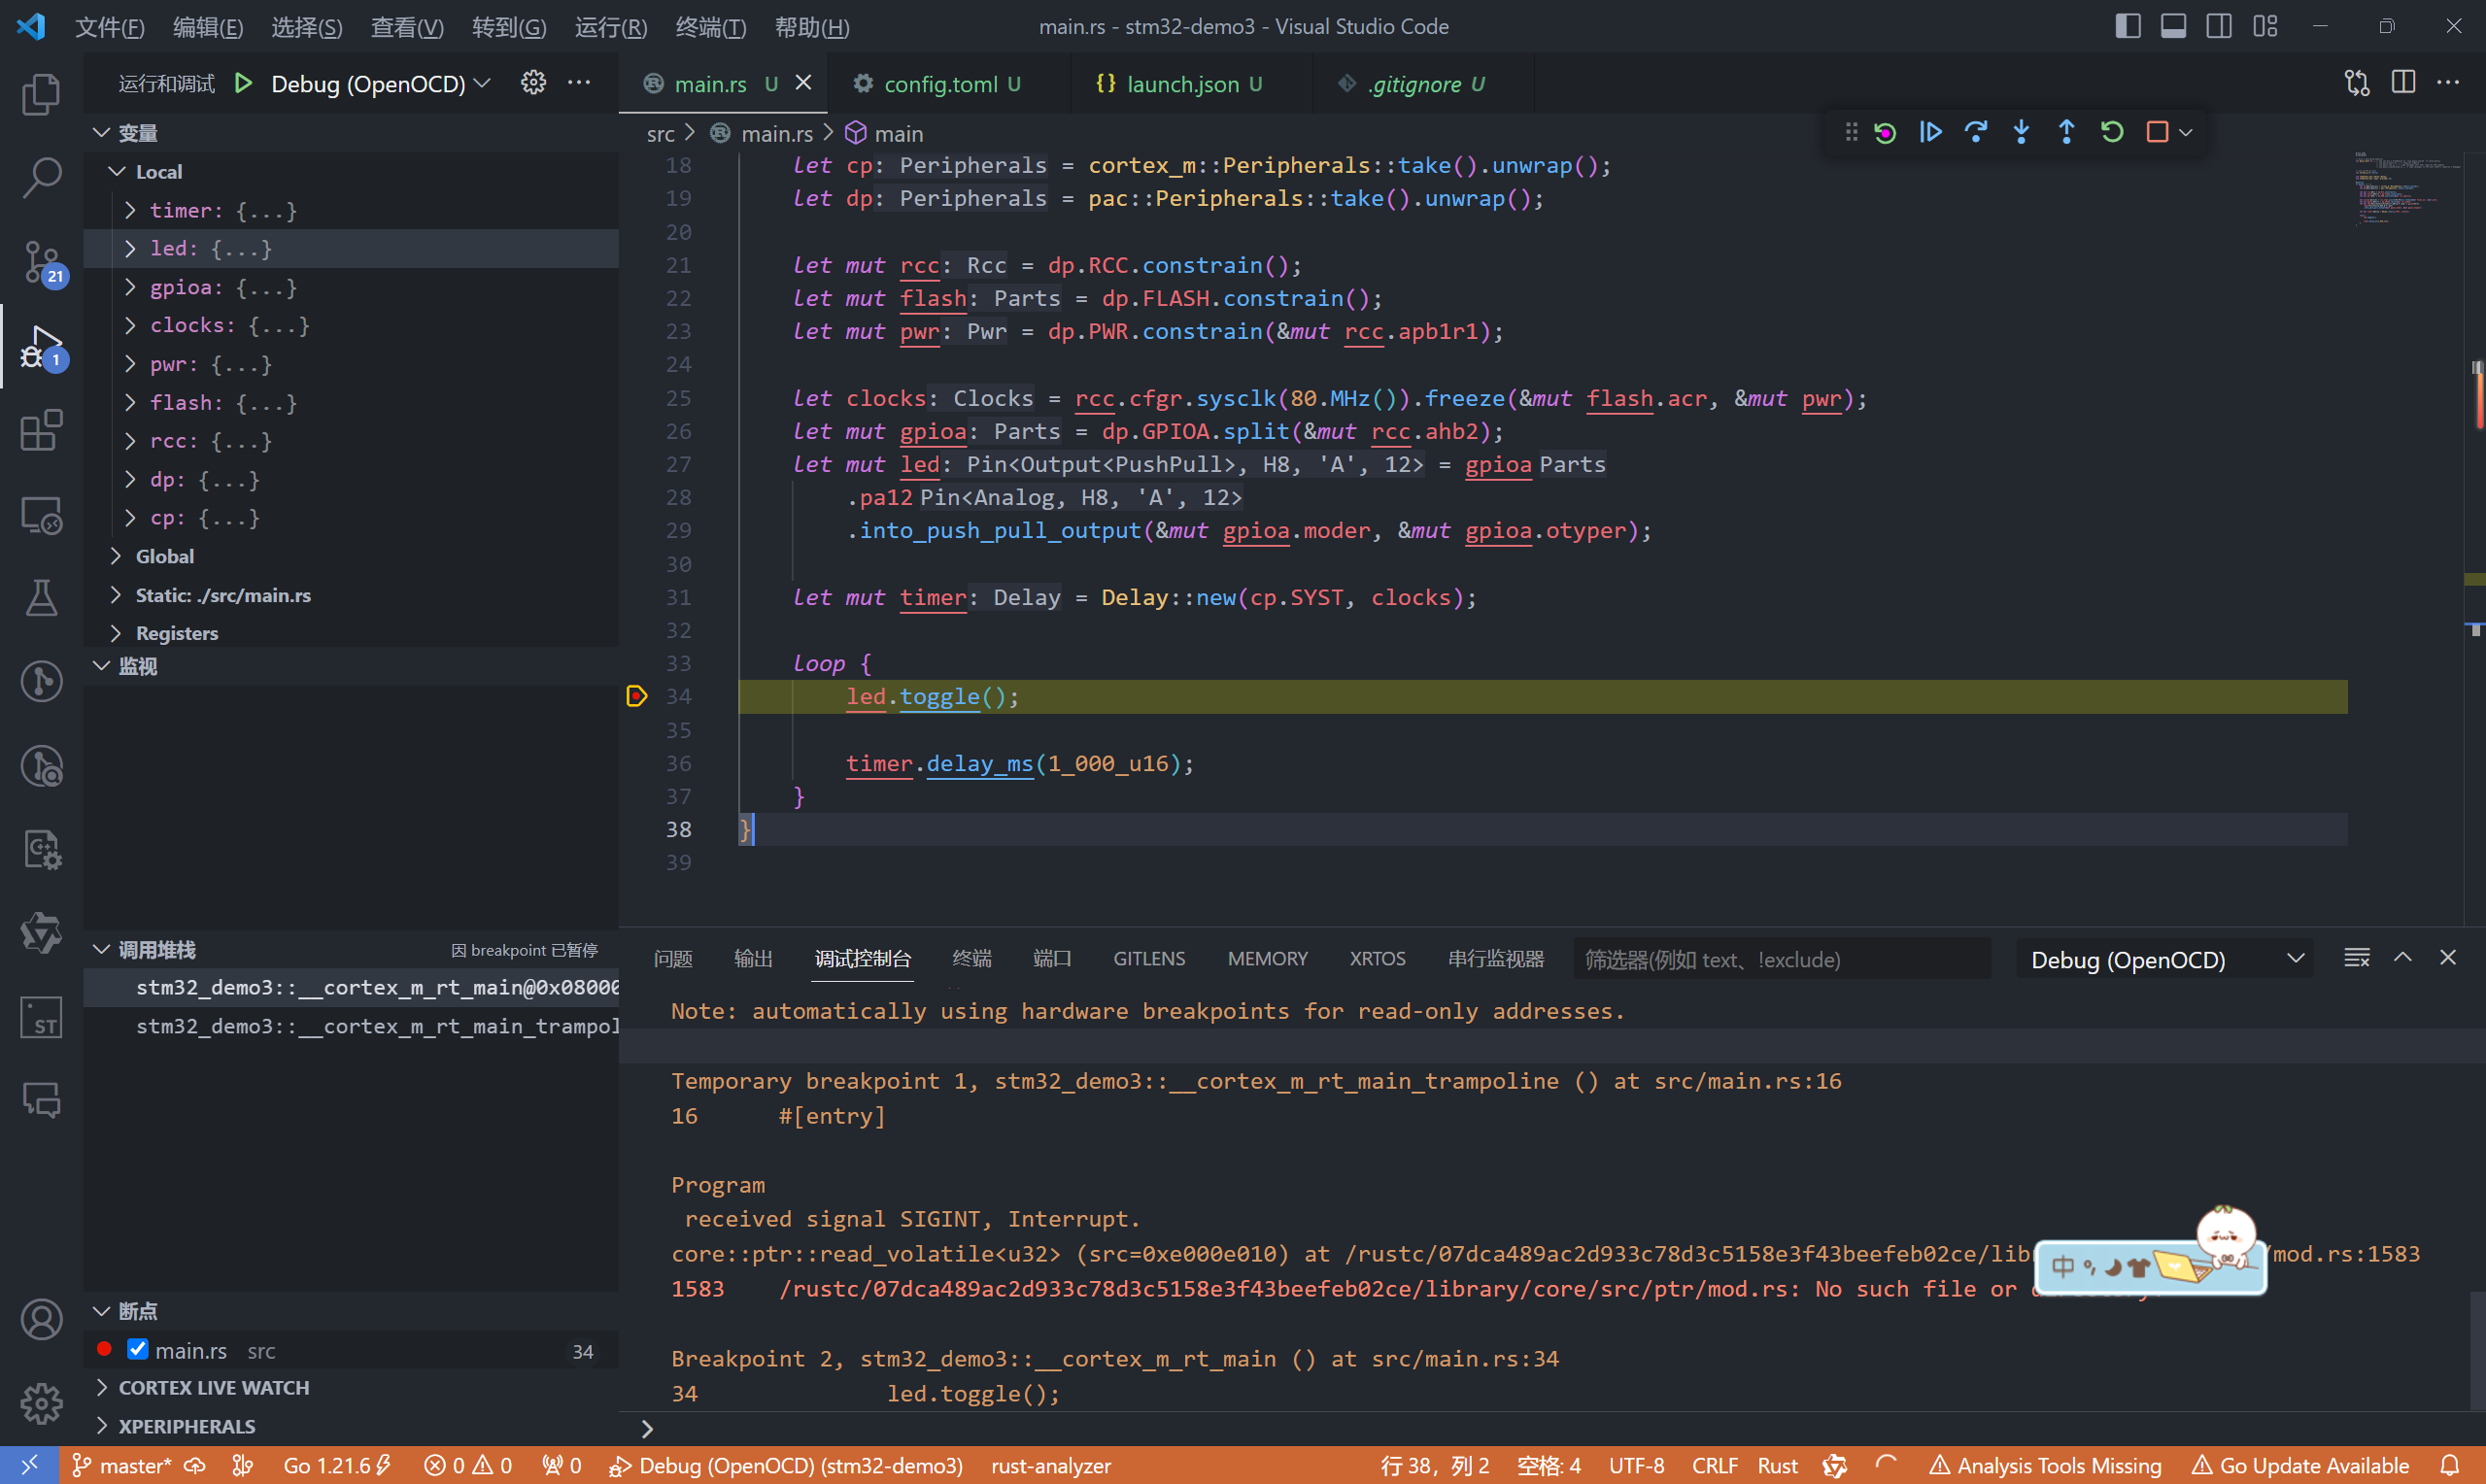
debug的话,使用cortex-debug插件,配置好.vscode/launch.json文件:

1
2
3
4
5
"device": "stm32l431",
"configFiles": [
"${workspaceRoot}/openocd.cfg"
],
"svdFile": "${workspaceRoot}/STM32L431.svd",

修改这三个地方。按F5就可以开始调试了。

rust-stm32-2-2024-02-14-23-14-00

没毛病,完结。

完整的工程在这里github